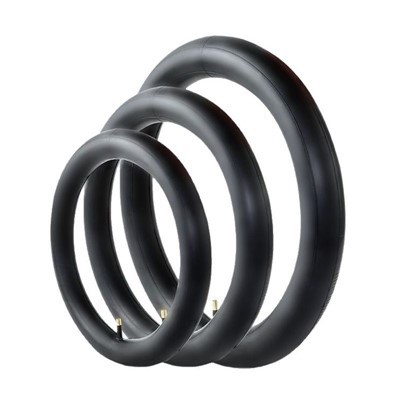
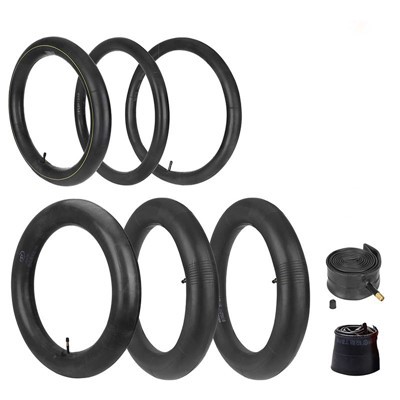
Installing a bicycle inner tube requires first deflating the outer tire, removing it, then inserting the new inner tube and inflating it. Here are the detailed steps:
Tools Needed: Ensure you have a new inner tube, at least two tire pry bars, and a hand pump or air pump.
Completely Deflating: Unscrew the valve cap and press down the valve stem to release all air, ensuring the inner tube is completely deflated.
Removing the Outer Tire: Use a tire pry bar to pry one side of the tire off the rim. Slide the pry bar along the rim to gradually remove the outer tire.
Removing the Old Inner Tube: Pull the old inner tube out of the outer tire and check the inside of the outer tire and the rim for foreign objects such as glass shards or metal wires to prevent punctures to the new tire.
Pre-inflating the New Inner Tube: Slightly inflate the new inner tube to maintain its round shape but not over-inflate it, making it easier to install without twisting.
Installing the New Inner Tube:Align the valve stem with the valve hole on the rim, insert it, and secure it.
Insert the inner tube evenly into the outer tire, starting from the valve stem and pushing it outwards to both sides.
Reset the outer tire: Press the tire sidewall back onto the rim by hand. If the last section is tight, you can carefully press it in using a tire lever, being careful not to pinch the inner tube.
Full inflation: First, inflate a small amount of air to check if the inner tube is evenly distributed and not pinched. Once confirmed, inflate to the recommended tire pressure range marked on the tire sidewall (e.g., 73–116 PSI).
Final check: Rotate the wheel to observe if the tire is round, if the safety lines on the tire sidewall are parallel to the rim edge and fully exposed, and if the brakes are working properly.