1. Preparation
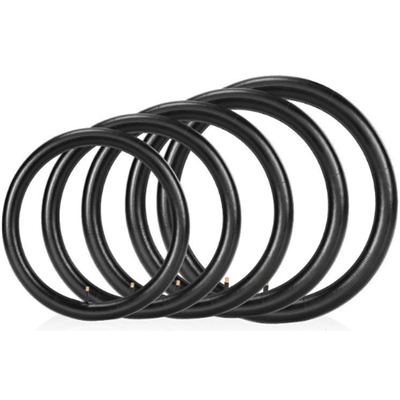
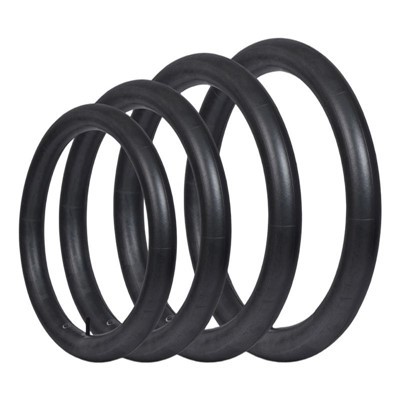
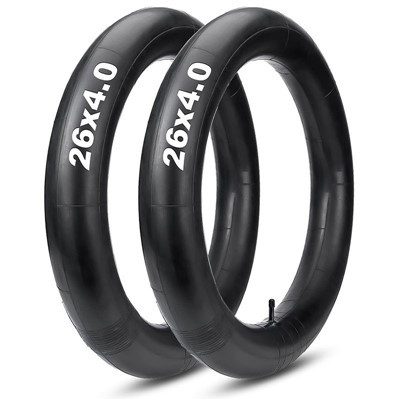
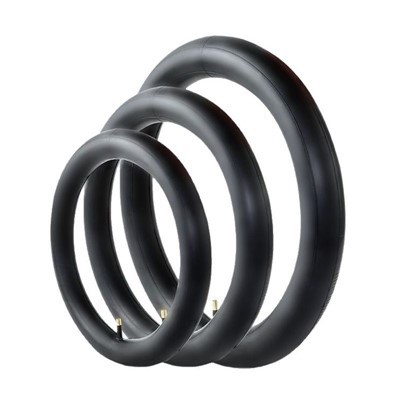
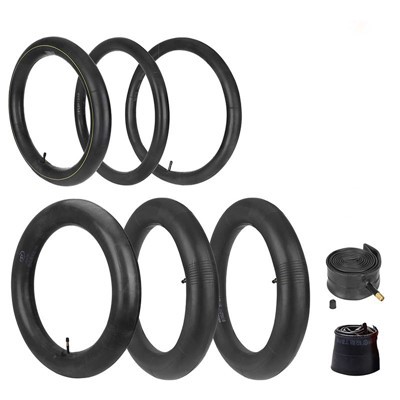
Confirm New Inner Tube Size: The new inner tube must be exactly the same size as the outer tire (e.g., 16×2.5, 18×2.125, etc.) to avoid bulges or leaks due to size mismatch.
Prepare Tools:Tire pry bar (nylon recommended), tire pump, soapy water or tire lubricant, gloves.
Safety Measures: Park the electric scooter securely and disconnect the power. Use a kickstand to stabilize the scooter and prevent slippage.
2. Removing the Old Inner Tube
Deflate: Use a valve core wrench to unscrew the valve core, completely emptying the inner tube of air.
Pry Open the Outer Tire: Starting from the side opposite the valve stem, gently pry open the edge of the outer tire with the tire pry bar, gradually detaching one side of the outer tire from the rim.
Remove the Old Inner Tube: Carefully pull out the inner tube, gently pressing on the outer tire at the valve stem to avoid damaging the valve structure by forcibly pulling.
3. Installing the New Inner Tube
Inspect the Rim: Ensure there are no foreign objects, burrs, or sharp objects in the rim grooves to prevent damage to the new tire.
Pre-install the Valve: Insert the valve of the new inner tube into the valve hole on the rim, ensuring it is securely aligned.
Insert the Inner Tube: Evenly insert the inner tube into the outer tire, ensuring it is not folded or twisted, and maintain its natural, relaxed position.
Reset the Outer Tire: Starting from the side opposite the valve, use your hand or a tire lever to gradually press the edge of the outer tire back into the rim groove. You can apply soapy water to the tire bead during this process to reduce friction.