Installing a motorcycle inner tube requires first removing the old tire, installing the new inner tube, and correctly repositioning it. Throughout the process, pay attention to valve alignment, prevent inner tube twisting, and ensure the tire bead is fully embedded in the rim. Here are the detailed steps:
1. Preparation
Tools needed: Tire pry bar, pump, soapy water (or a special lubricant), wrench, sandpaper (optional).
Safety precautions: Park the motorcycle securely and use a kickstand or stand to stabilize the vehicle, ensuring it won't tip over during the operation.
2. Removing the Old Inner Tube
Loosen and remove the nut with a wrench to remove the tire completely.
Use a tire pry bar to insert between the tire and the rim, and gradually pry open one side of the tire bead along the circumference to detach the tire from the rim.
Carefully remove the old inner tube, while simultaneously checking the inside of the tire for foreign objects (such as nails or glass shards) to prevent puncturing the new inner tube.
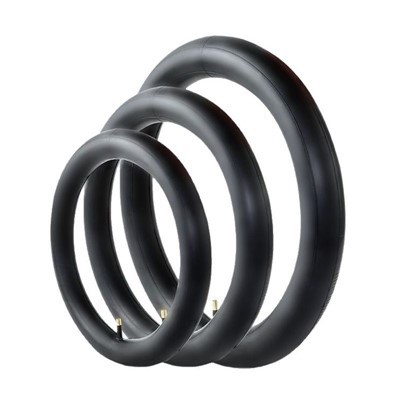
3. Installing the New Inner Tube
Pre-inflation: Slightly inflate the new inner tube to approximately 1/3 of its standard pressure, maintaining its shape without over-inflating it for easy installation.
Positioning the Valve: Align the inner tube valve with the valve hole on the rim. Secure the valve nut to prevent displacement during installation.
Inserting the Inner Tube: Evenly insert the inner tube into the inner ring of the outer tire, avoiding twisting or folding throughout. Push it in in sections to ensure a smooth fit.
4. Reinstalling the Outer Tire
Apply soapy water or lubricant to the tire bead to reduce friction.
Use your hand to press one side of the tire bead into the rim. If it becomes difficult to continue, carefully pry the remaining portion in using a pry bar, being careful not to damage the inner tube.
For the final section, use two pry bars alternately to ensure the tire bead is fully embedded in the rim groove.
5. Inflation and Inspection
After installation, inflate the inner tube to 1/3 of the standard pressure. Gently tap the tire tread with a plastic hammer to help the inner tube spread evenly.
Then gradually inflate to the standard pressure, checking that the tire bead is completely flush with the rim and that there are no bulges or leaks.
Reinstall the wheel, tighten the nuts to the specified torque, and ensure safe driving.